


Easy Steps To Properly Vacuum Your Home

Ask anyone who keeps a household what their favorite cleaning equipment is and vacuums would probably come up a lot. After all, there are many pros to the versatile tool: They are fast, efficient and can reach the dirt in nooks and crannies more than your average broom.
That is, if you know how to properly vacuum a space. Simply running a vacuum through a carpet haphazardly might remove surface dirt, but not all of it. To help you make the most of your equipment and create healthy habits for life, here’s a six-step guide to maximize your time with the vacuum.
Step 1: Clear the clutter.
You can’t get to the tiny particles of dust if you have large debris like toys and slippers in the way, right? Pick up any easily removable clutter first before you begin vacuuming to keep the process smooth.
Step 2: Sweep dust off high places.
Now, aim to move all the dust to the floor for your vacuum to suck up. Dust off your shelves and storage boxes and beat off any particles on your bed or room linens to gather all the dirt together faster.
Step 3: Vacuum the perimeter of the room first.
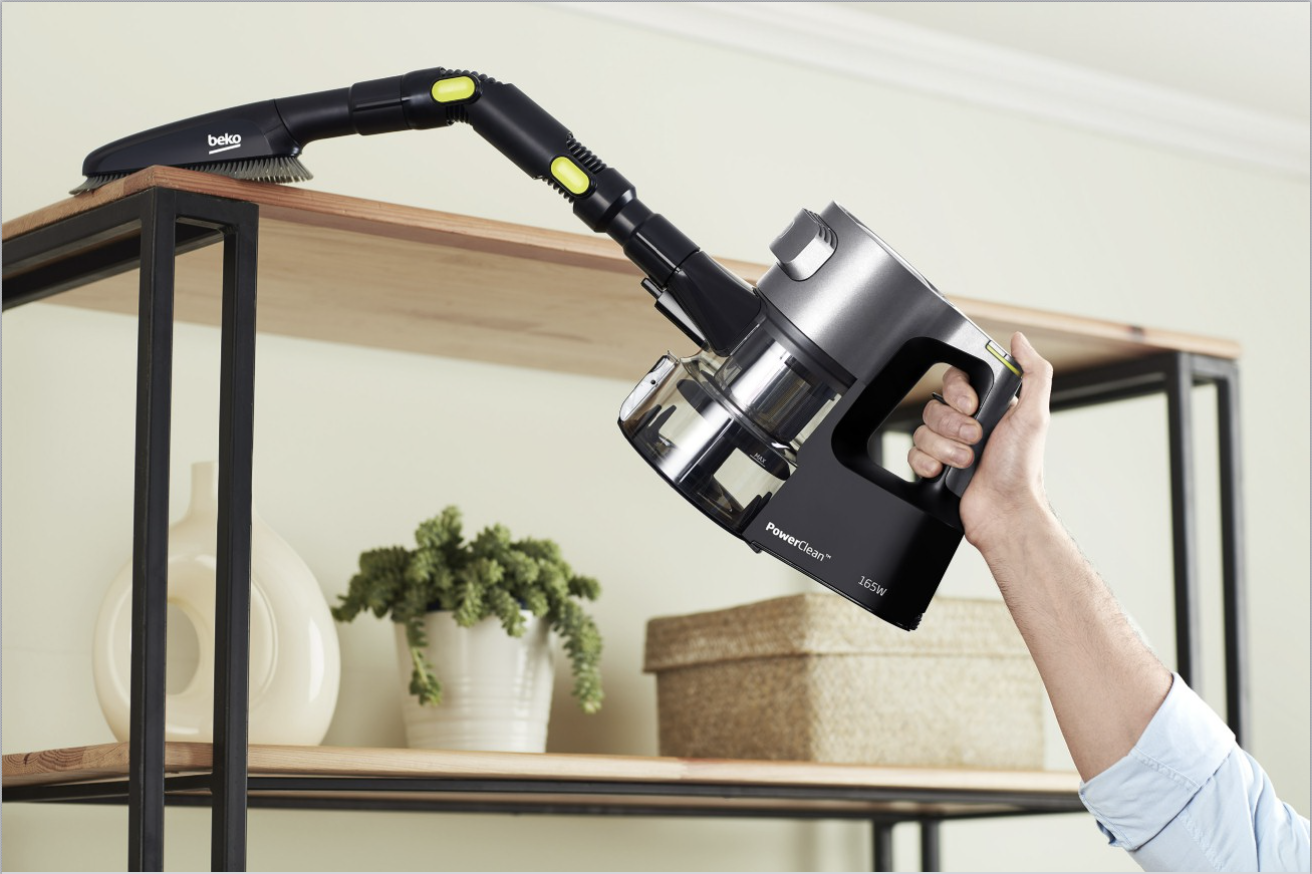
Here comes the fun part: actually vacuuming. To keep your flow efficient, it is recommended that you start from the outside in. Deal with the corners of your upper walls first so that residual dirt will fall to the floor. Then, if you have them, use special vacuum attachments to thoroughly clean the corners and edges of your floor.
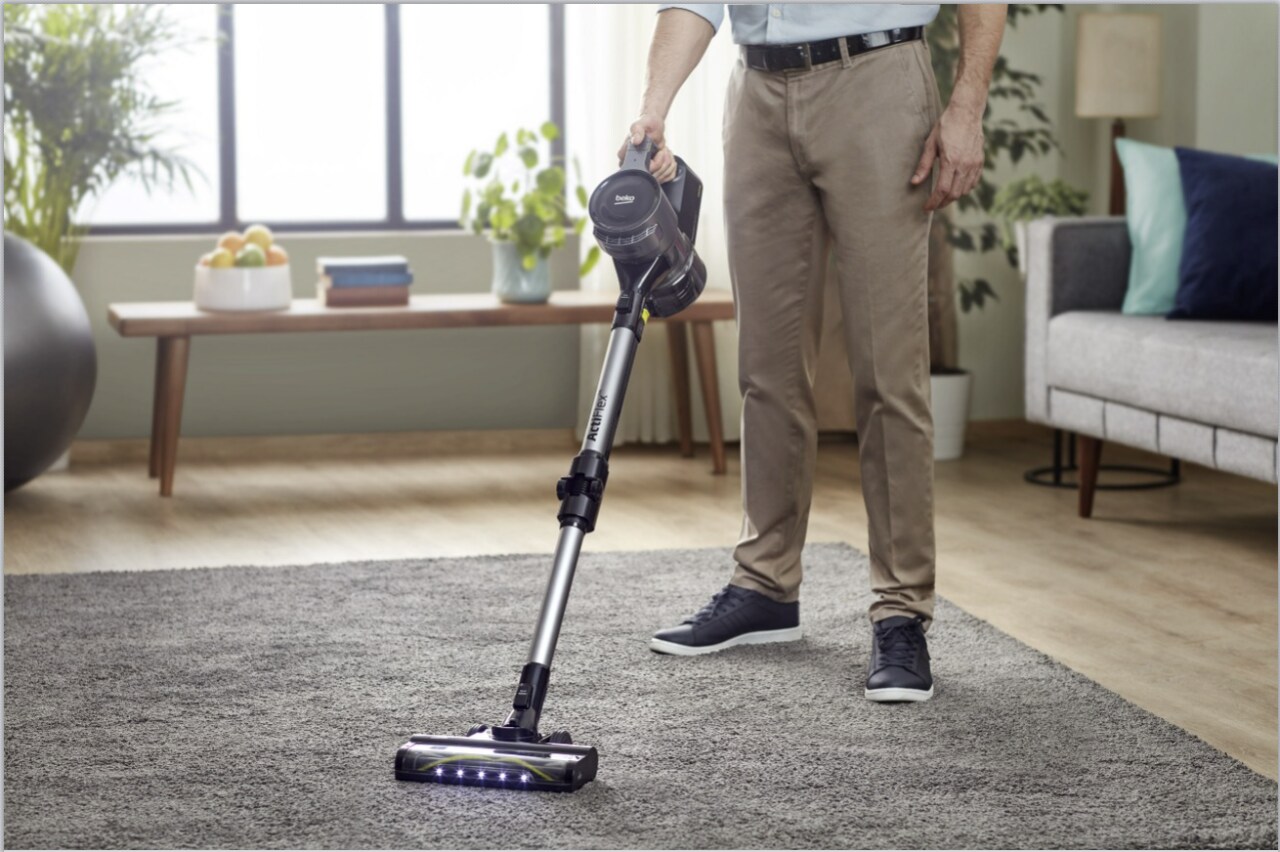
Step 4: Vacuum the middle in overlapping rows.
The main—and typically most satisfying—part is when you methodically clean the entire middle part of your floors. Go slowly and in straight rows to let the vacuum work its magic on each spot of the floor area. Make sure to let each row have large overlaps, ideally half of your last row, to make sure no surface gets neglected.
Step 5: Do a final pass in different directions.
Going in one direction when you vacuum might leave some blind spots that you won’t be able to clean. Don’t forget to go back and forth on spots or even diagonally, especially on rugs and carpets, so that each fiber has been passed over. You can also do this simultaneously with the last step if you prefer to get things done quickly.
Step 6: Clean your vacuum after.
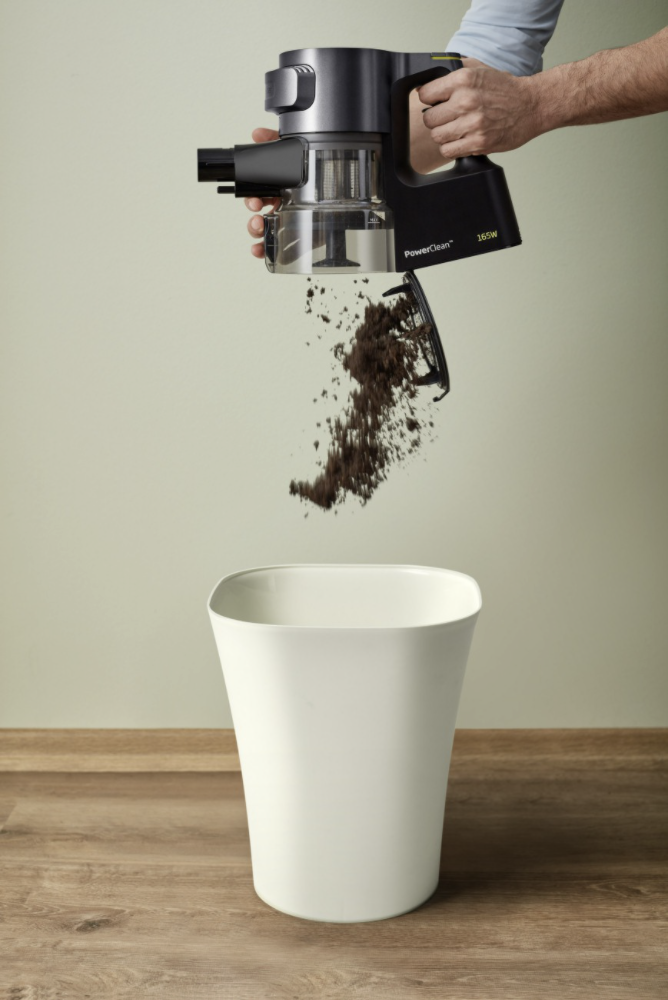
After a gratifying time of successfully vacuuming your house, don’t forget to clean your equipment to have it ready for your next session. Empty your dust bag or canister and wipe down the vacuum attachments to avoid dust and hairs settling into them.
Voila! Your house is now spick and span in no time. If this has gotten you pumped up to make a vacuum upgrade, consider Beko’s versatile vacuum cleaner options. Go for the cordless option if you prefer to clean continuously with an unlimited scope of movement. Opt for the bagless canister option if you prefer heavy-duty equipment that can handle larger volumes of dirt at a time.
Whichever option you end up with, your cleaning time will surely be cut tenfold from regular floor sweeping. Enjoy your sparkling clean floors!